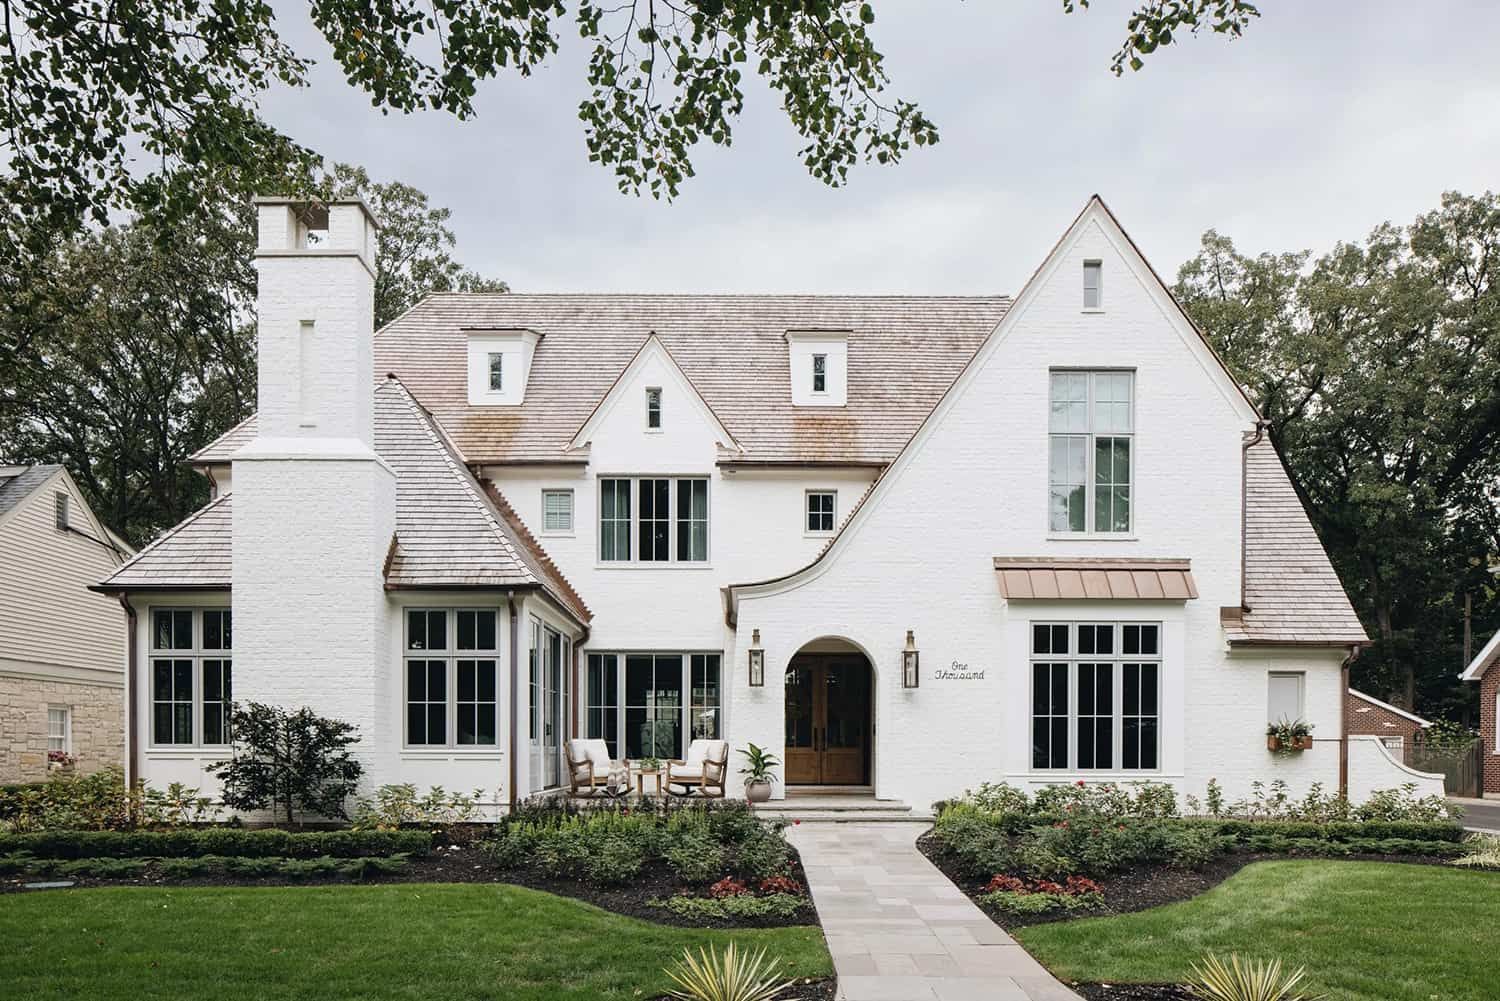
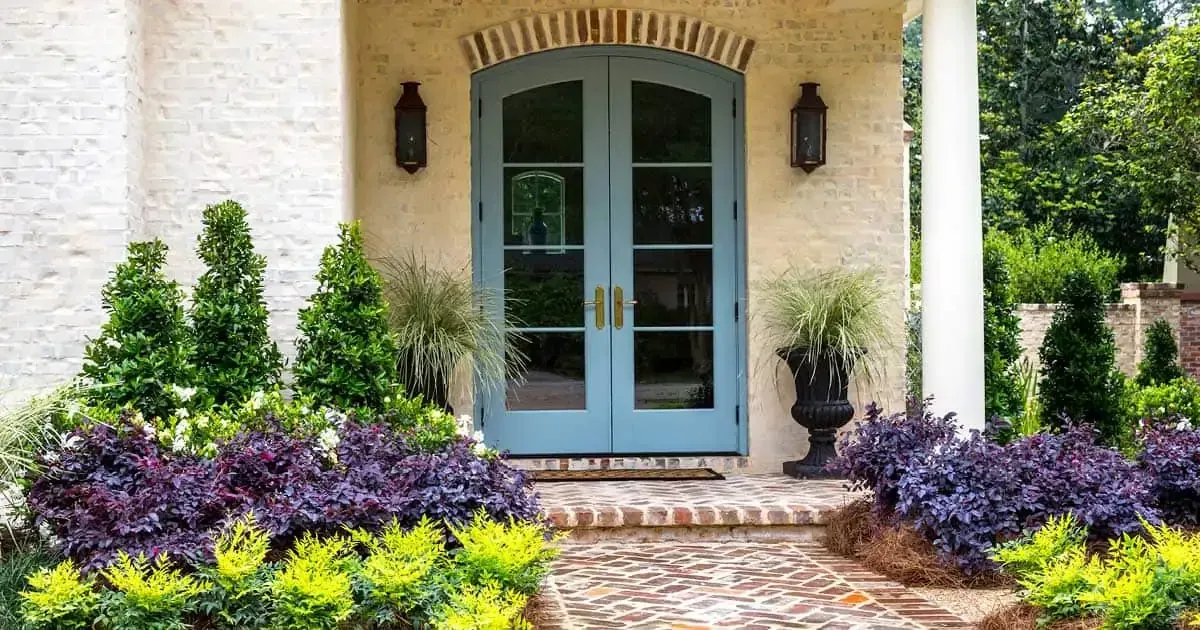
Can You Paint Brick? Tips for a Successful Brick Painting Project
Can You Paint Brick? Tips for a Successful Brick Painting Project
Brick has long been appreciated for its timeless beauty and durability in construction. However, there may come a time when you consider giving your brick surfaces a fresh look through painting. Painting brick can be a transformative project that breathes new life into your space, but it's essential to approach it with careful planning and attention to detail. At Magnolia Brick, with locations in Tupelo, MS, and Oxford, MS, we're here to provide you with valuable tips for a successful brick painting project.
The Decision to Paint Brick
Before diving into the process of painting brick, it's important to weigh the pros and cons of this decision. Here are some factors to consider:
Pros of Painting Brick:
Aesthetic Transformation: Painting brick can completely change the look of your space, allowing you to achieve the color and style you desire.
Stain and Damage Cover-Up: If your brick surfaces have stains, discoloration, or minor damage, painting can provide a fresh, clean appearance.
Protection: Paint can serve as a protective barrier, shielding brick from moisture and environmental elements.
Cons of Painting Brick:
Permanent Decision: Once you paint brick, it's challenging to revert to its natural state. The process is irreversible.
Maintenance: Painted brick may require regular maintenance, including touch-ups and repainting, to maintain its appearance.
Texture Concealment: Painting can hide the natural texture and character of brick, which some may find undesirable.
Risk of Trapping Moisture: If not done correctly, painting brick can trap moisture within, leading to potential damage and deterioration.
Preparing Your Brick Surface
Proper preparation is the key to a successful brick painting project. Here's a step-by-step guide:
1. Clean the Brick:
Start by thoroughly cleaning the brick surface. Remove any dirt, dust, grime, and loose mortar using a stiff brush or a pressure washer. For stubborn stains, consider using a brick or masonry cleaner.
2. Repair Damages:
Inspect the brick for any cracks, holes, or loose bricks. Repair these issues using appropriate masonry repair products, and allow them to dry completely.
3. Remove Efflorescence:
If you notice efflorescence (white, powdery deposits) on the brick surface, remove it using a wire brush or a mild acid solution. Rinse the area with water after cleaning.
4. Fill Gaps:
Fill any gaps or voids in the mortar joints with fresh mortar. Ensure that the mortar matches the color of the existing mortar to maintain a consistent appearance.
5. Mask and Protect:
Mask off areas you don't want to paint, such as windows, trim, and adjacent surfaces. Use drop cloths to protect the ground and any nearby landscaping.
Choosing the Right Paint
Selecting the appropriate paint for your brick surfaces is crucial. Here are some factors to consider:
1. Breathable Paint:
Opt for a paint specifically designed for masonry surfaces. Look for paints labeled as "breathable" or "vapor-permeable" to allow moisture to escape from the brick.
2. Acrylic Latex Paint:
Acrylic latex paint is a popular choice for painting brick. It adheres well to masonry surfaces, dries quickly, and is resistant to cracking and peeling.
3. Color Selection:
Choose a color that complements your overall design. Keep in mind that dark colors may absorb more heat, potentially affecting the temperature inside your space.
4. Finish Type:
Select a finish that suits your desired aesthetic. Flat and satin finishes are common choices for brick, providing a more subdued appearance.
5. Primer:
Using a masonry primer before painting can improve adhesion and coverage. It can also help block stains or discolorations from bleeding through.
Painting the Brick
Now that you're prepared, it's time to paint your brick. Follow these steps for a successful application:
1. Apply a Base Coat:
Start by applying a base coat of paint to the brick surface. Use a roller or a paintbrush for this step. Ensure an even, consistent application.
2. Use a Paint Sprayer:
For larger areas, consider using a paint sprayer to achieve a more uniform finish. Be sure to mask off nearby surfaces and cover them to protect against overspray.
3. Apply Multiple Coats:
Most brick surfaces will require multiple coats of paint for full coverage. Allow each coat to dry thoroughly before applying the next.
4. Brush in Mortar Joints:
After applying paint to the brick faces, use a paintbrush to fill in the mortar joints. This step provides a finished look and ensures no unpainted areas.
5. Follow Drying Times:
Follow the manufacturer's recommended drying times between coats and before removing masking and drop cloths.
6. Inspect and Touch Up:
Once the paint is dry, inspect the surface for any missed spots or imperfections. Touch up as needed to achieve a seamless finish.
Maintenance and Care
To maintain the longevity and appearance of your painted brick, consider the following:
Regular Cleaning: Periodically clean the painted brick surface with a mild detergent and water to remove dirt and stains.
Touch-Ups: Be prepared for touch-up painting as needed to address any chipping, fading, or wear.
Sealing: Some experts recommend applying a clear masonry sealer to protect the paint and enhance its durability.
Inspect for Damage: Regularly inspect the painted brick for signs of cracking, peeling, or moisture issues. Address any problems promptly to prevent further damage.
Conclusion
Painting brick can be a rewarding project that rejuvenates the appearance of your space. However, it's essential to approach it with careful planning and attention to detail. Proper preparation, the right choice of paint, and diligent application are key to achieving a successful outcome. Whether you're looking to refresh the look of your home or commercial building in Tupelo, MS, or Oxford, MS, Magnolia Brick is here to assist you in making informed decisions about your brick painting project.
