Common Mistakes to Avoid When Installing Brick Pavers

Dec 19, 2023

Common Mist akes to Avoid When Installing Brick Pavers

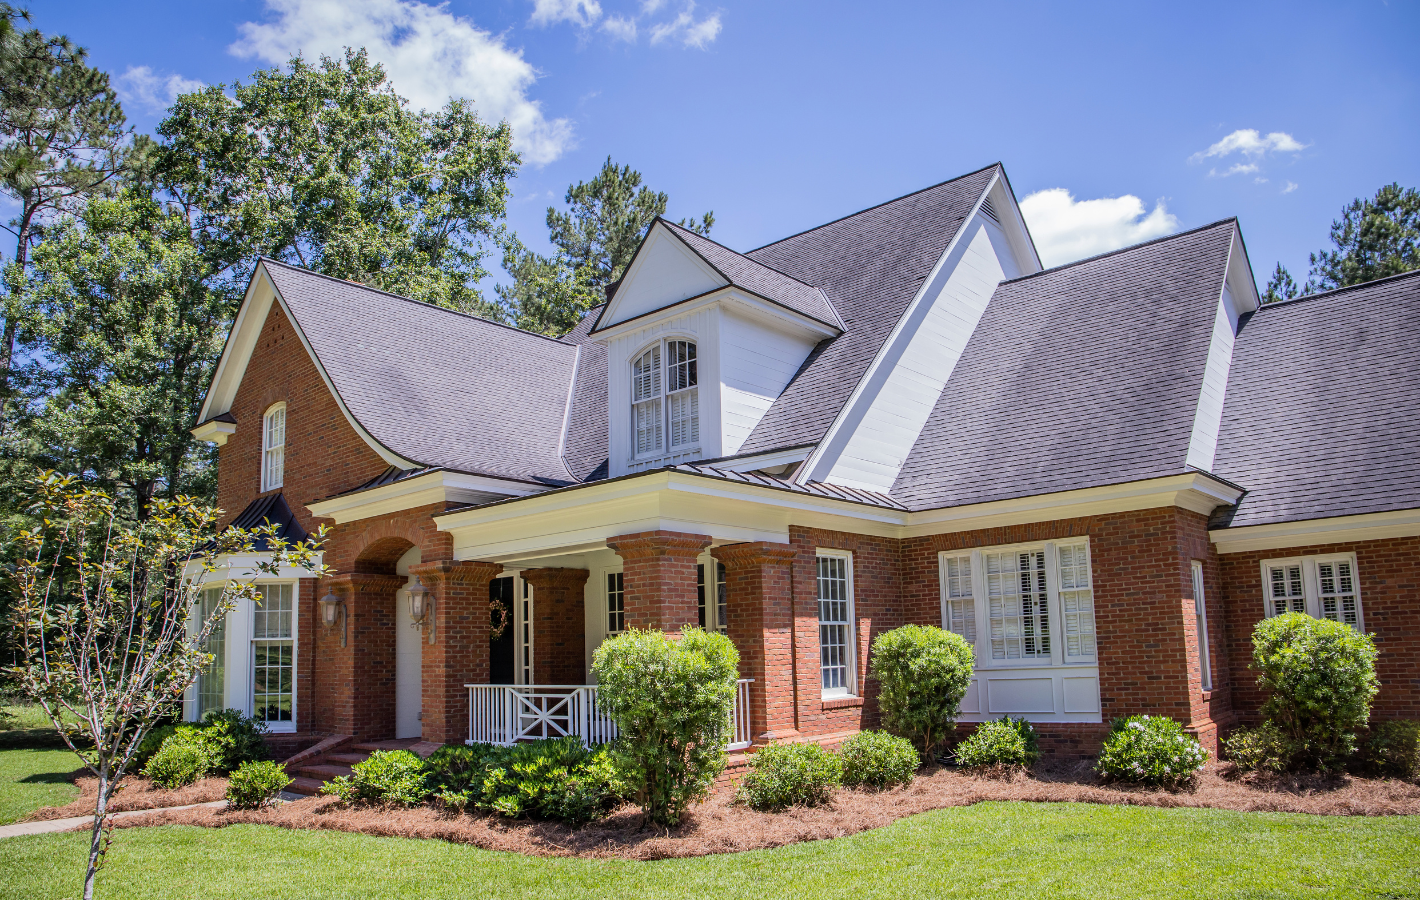
Brick pavers are a popular choice for creating beautiful and durable outdoor spaces, including patios, walkways, and driveways. Their timeless appeal, versatility, and ease of maintenance make them an attractive option for homeowners. However, the success of your brick paver project depends on proper installation. In this blog, we'll explore some common mistakes to avoid when installing brick pavers, helping you ensure a long-lasting and visually appealing result. At Magnolia Brick, with locations in Tupelo, MS, and Oxford, MS, we're committed to providing valuable insights into the world of brick and masonry.


Mistake 1: Insufficient Base Preparation

A stable and well-prepared base is the foundation of any successful brick paver installation. One common mistake is not taking the time to properly prepare the base. Insufficient base preparation can lead to settling, uneven surfaces, and the eventual failure of the paver installation.


Solution: Start by excavating the area to the required depth, typically around 6-8 inches for a standard base. Remove all organic material, such as grass and roots. Next, add a layer of crushed stone or gravel, followed by a layer of sand. Compact each layer thoroughly to create a firm and level base.


Mistake 2: Neglecting Edge Restraints

Edge restraints, such as plastic or metal edging, are essential to  prevent the spreading of pavers and maintain the integrity of the installation. Some DIYers or inexperienced installers may skip this crucial step.


Solution: Install edge restraints along the perimeter of the paver area. These restraints should be secured firmly to prevent lateral movement. Properly installed edge restraints help maintain the shape of the paver layout and prevent the edges from shifting over time.


Mistake 3: Incorrect Slope and Drainage

Inadequate slope and drainage can lead to water pooling or runoff issues, which can damage the pavers and the surrounding area. Failure to plan for proper drainage is a common mistake in paver installations.


Solution: Ensure that the paver surface has a slight slope away from structures and toward a suitable drainage point, such as a yard or a catch basin. Proper grading and drainage planning help prevent water-related problems.


Mistake 4: Inadequate Compaction

Proper compaction is critical to achieving a stable and level surface. Failing to compact the base and sand layers can result in paver settling, unevenness, and even the formation of voids beneath the pavers.


Solution: Use a mechanical compactor to compact the base and sand layers thoroughly. Repeat the compaction process multiple times, adding additional layers of sand and compacting each one before laying the pavers.


Mistake 5: Poor Joint Sand Application

Joint sand plays a crucial role in stabilizing the pavers and preventing them from shifting. Insufficient or improper joint sand application can lead to loose and uneven pavers.


Solution: After placing the pavers, spread joint sand evenly over the surface. Use a broom to sweep the sand into the joints until they are completely filled. Compact the pavers once more to ensure that the sand settles and stabilizes the pavers.


Mistake 6: Neglecting Proper Sealing

Sealing brick pavers is often overlooked, but it is an essential step in protecting the pavers from stains, erosion, and color fading.


Solution: Apply a high-quality paver sealer to the surface after installation. Sealing enhances the pavers' durability and helps maintain their appearance over time. Follow the manufacturer's instructions for proper application.


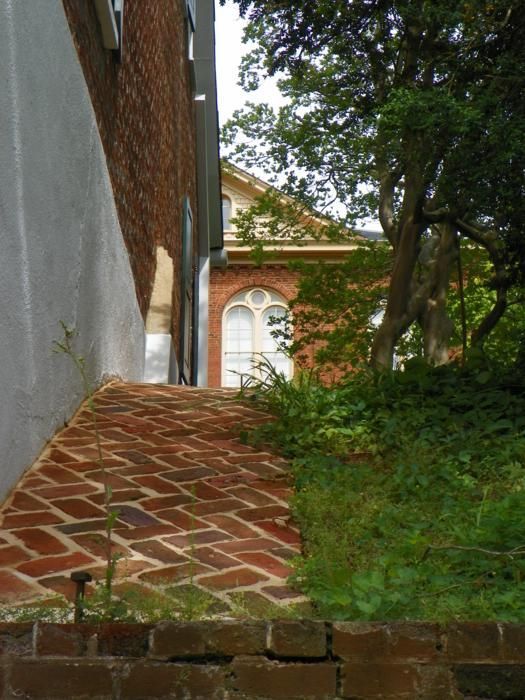
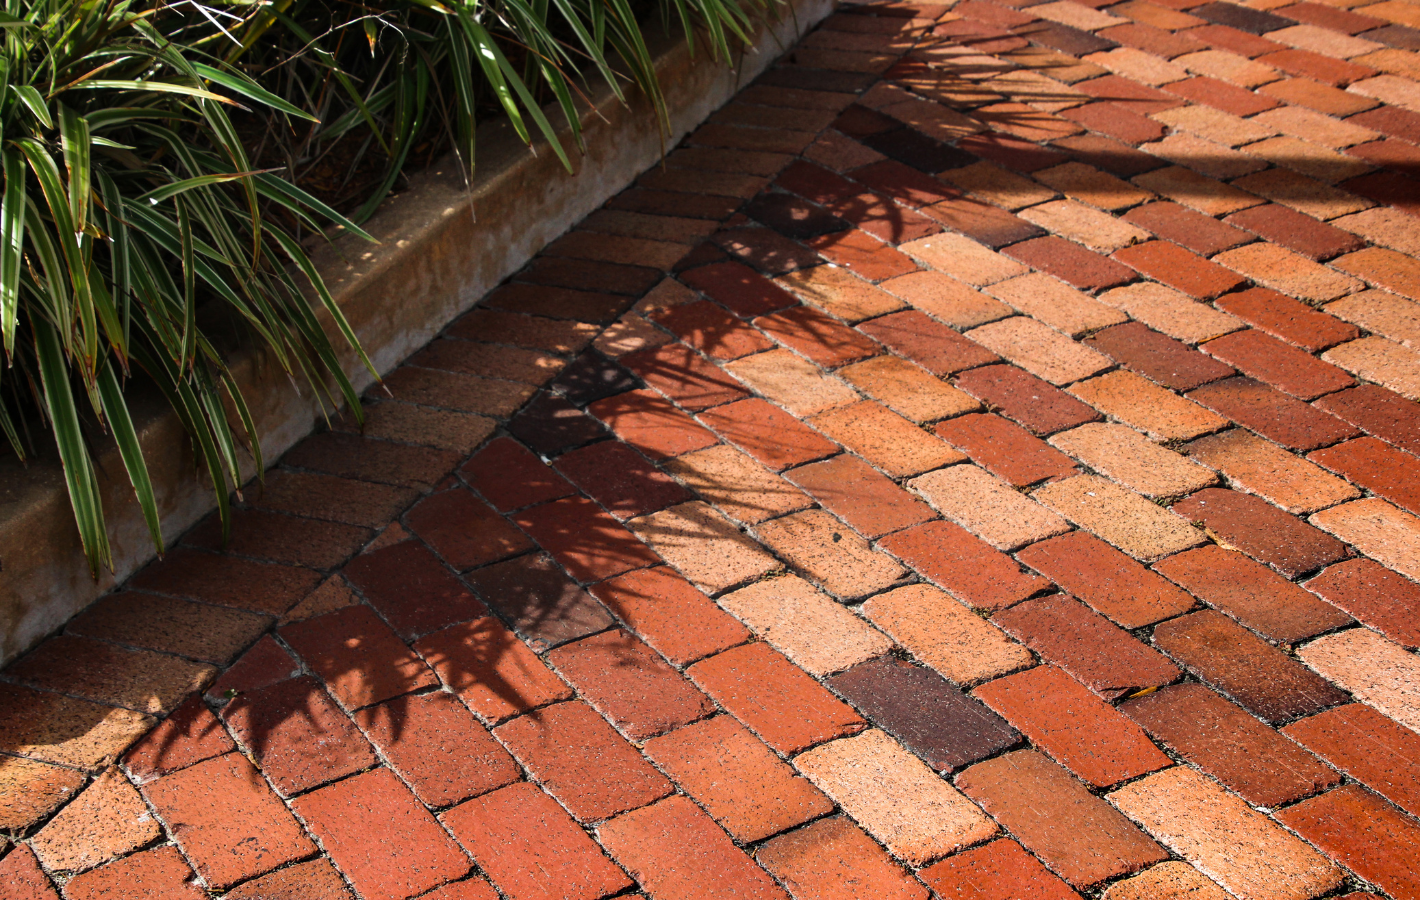
Mistake 7: Incorrect Pattern or Layout

Choosing the wrong paver pattern or layout can result in a disjointed and unattractive appearance. Some homeowners may not consider the aesthetics of the pattern they select.


Solution: Before beginning your project, carefully plan the paver pattern and layout. Take into account the size and shape of the pavers, as well as any design elements you want to incorporate. Mock up the pattern on paper or with actual pavers to visualize the final result.


Mistake 8: Rushing the Installation

Impatience can lead to errors during installation. Some DIYers may rush the process, neglecting crucial steps or not allowing for proper curing times.


Solution: Take your time with each step of the installation process. Follow manufacturer recommendations for curing times, and resist the urge to rush through any phase. A well-executed installation will yield better results and greater longevity.


Mistake 9: Overlooking Maintenance

Once your brick paver project is complete, it's important to perform regular maintenance to keep the surface in excellent condition. Neglecting maintenance can lead to deterioration and a shorter lifespan for the pavers.


Solution: Implement a maintenance routine that includes regular cleaning, weed control, and resealing as needed. Address any issues, such as loose or damaged pavers, promptly to prevent further damage.


Mistake 10: DIY Installation Without Proper Experience

One of the most significant mistakes is attempting a brick paver installation without the necessary experience or skills. DIY projects can be rewarding, but without proper knowledge, they can lead to costly errors.


Solution: If you lack experience in brick paver installation, consider hiring a professional contractor or seeking guidance from experts. Professionals have the expertise and equipment to ensure a successful and long-lasting installation.


Conclusion

Avoiding these common mistakes when installing brick pavers is essential for achieving a beautiful and enduring outdoor space. Proper planning, preparation, and execution are key to a successful project that will enhance your home's curb appeal and provide years of enjoyment. Whether you're undertaking a DIY project or seeking professional assistance, paying attention to these details will ensure the longevity and visual appeal of your brick paver installation. At Magnolia Brick, we're here to provide guidance and expertise for your brick and masonry projects in Tupelo, MS, and Oxford, MS.

16 May, 2024
Introduction: In the world of bricklaying, the choice of sand is a critical factor that can significantly impact the performance and durability of mortar. With a myriad of options available, navigating the world of sand selection can be daunting. However, with expert guidance, you can optimize mortar performance and achieve impeccable brickwork results. Join us as we explore the importance of choosing the perfect sand for your Southern brick project and maximizing mortar performance. Understanding the Role of Sand in Mortar: Sand plays a crucial role in mortar, providing bulk and contributing to its workability, strength, and durability. Discover the different types of sand commonly used in mortar mixes, including sharp sand, soft sand, and washed sand, and learn how each type affects the properties of mortar. Understand the importance of choosing the right sand for your specific project requirements, from strength and bonding to color and texture. Factors to Consider When Selecting Sand: When selecting sand for your Southern brick project, several factors should be taken into consideration. Explore the characteristics of different sands, such as grain size, shape, and composition, and how they influence mortar performance. Consider environmental factors, such as local availability and cost, as well as aesthetic considerations, such as color matching and texture blending, to ensure the perfect sand for your project. Optimizing Mortar Performance: Once you've chosen the perfect sand for your Southern brick project, it's essential to optimize mortar performance through proper mixing and application techniques. Learn the best practices for mixing mortar, including the correct proportions of sand, cement, and water, and the importance of thorough mixing to achieve uniform consistency. Explore techniques for applying mortar, such as buttering bricks and striking joints, to ensure proper adhesion and bonding strength. Maximizing Brickwork Results: By choosing the perfect sand and optimizing mortar performance, you can maximize brickwork results and achieve impeccable craftsmanship in your Southern brick project. Discover the satisfaction of working with mortar that is well-mixed, properly applied, and optimized for performance, resulting in strong, durable, and aesthetically pleasing brickwork that stands the test of time. Expert Guidance for Sand Selection: With expert guidance, navigating the world of sand selection becomes a straightforward and rewarding process. Whether you're a seasoned bricklayer or a DIY enthusiast, understanding the role of sand in mortar and choosing the perfect sand for your Southern brick project is essential for achieving professional-quality results. Trust in the expertise of professionals like Magnolia Brick, who can provide valuable guidance and support throughout the sand selection process, ensuring optimal mortar performance and impeccable brickwork results. Conclusion: As we conclude our exploration of sand selection for Southern brick projects, we are reminded of the critical role that sand plays in mortar performance and brickwork results. By understanding the factors to consider when selecting sand and optimizing mortar performance, you can achieve impeccable craftsmanship and lasting durability in your brick projects. With expert guidance and the perfect sand at your disposal, the sands of time will only enhance the beauty and longevity of your Southern brickwork.
02 May, 2024
Introduction: Selecting the right mason is crucial for the success of any bricklaying project. Whether you're building a new structure or restoring an existing one, partnering with a skilled and experienced mason can make all the difference in achieving superior craftsmanship and peace of mind. In this guide, we'll explore the keys to finding, vetting, and partnering with the perfect bricklaying professional, ensuring your project is in capable hands from start to finish. Step 1: Define Your Project Needs: Before beginning your search for a mason, take the time to define your project needs and goals. Consider the scope of work, timeline, and budget for your project, as well as any specific requirements or preferences you may have. This will help you narrow down your search and find a mason who is the right fit for your project. Step 2: Conduct Research: Start your search for a mason by conducting research online and asking for recommendations from friends, family, and colleagues. Look for masons who specialize in the type of work you need, whether it's new construction, restoration, or repair. Take the time to read reviews and testimonials from past clients, and ask for references to verify the quality of their work. Step 3: Vet Potential Candidates: Once you've compiled a list of potential masons, it's time to vet them thoroughly. Schedule interviews or consultations with each candidate to discuss your project needs and evaluate their experience, expertise, and communication skills. Ask about their qualifications, certifications, and previous projects, and inquire about their approach to safety and quality control. Step 4: Review Portfolios and References: Ask each mason to provide a portfolio of their past work, including photographs or samples of completed projects. Review these carefully to assess the quality of their craftsmanship and attention to detail. Additionally, contact references provided by the mason to inquire about their experience working with them and the overall satisfaction with the completed project. Step 5: Get Multiple Quotes: Before making a final decision, obtain multiple quotes from different masons to compare pricing and services. Be wary of any quotes that seem significantly lower or higher than the others, as this may indicate a lack of experience or hidden costs. Choose a mason who offers competitive pricing and transparent pricing. Step 6: Sign a Detailed Contract: Once you've selected a mason for your project, be sure to sign a detailed contract outlining the scope of work, timeline, payment schedule, and any other terms and conditions. Make sure to clarify any questions or concerns you may have before signing, and keep lines of communication open throughout the duration of the project. Conclusion: By following these steps, you can master the process of finding, vetting, and partnering with the perfect bricklaying professional for your project. With the right mason by your side, you can rest assured knowing that your project is in capable hands, ensuring superior craftsmanship and peace of mind from start to finish.
Brick Pavers in Landscaping
By SEO 4 Quality 22 Apr, 2024
Discover innovative ways to incorporate brick pavers into your landscape design. Explore Magnolia Brick's creative ideas for stunning outdoor spaces.
11 Apr, 2024
Discover the importance of real brick inspections for homeowners. Learn step-by-step guidance for assessing brick structures. Magnolia Brick has you covered.
28 Mar, 2024
Discover the essential steps from blueprint to brick in southern new construction builds. Expert insights for navigating the process with ease.
14 Mar, 2024
Discover expert tips and tricks for restoring Southern brick homes to their former glory. Conquer the cleaning conundrum with Magnolia Brick!
29 Feb, 2024
Discover the artistry of mortar & the magic of masonry joints with Magnolia Brick. Explore beyond the surface for expert insights & inspiration.
15 Feb, 2024
Uncover the secrets of Southern brickwork: delve into hidden histories and timeless techniques. Discover more at MagnoliaBrick.com!
01 Feb, 2024
Unveil the artistry behind stunning brickwork craftsmanship with Magnolia Brick. Explore the timeless beauty and meticulous skill of masonry.
30 Jan, 2024
Explore the eco-friendly benefits of bricks. Learn how brick construction enhances sustainability and supports environmental initiatives. Discover more!
More Posts
Share by: